
1Step 1
Insert back cover first
Slide the back cover of your book through the cover loop. Push it all the way in until the book rests securely against the loop. (Always start with the back cover.)
Simple, step-by-step guidance for fitting, removing, and caring for your handcrafted cover so it lasts a lifetime.

Our adjustable covers are designed to fit snugly and beautifully. The order of installation matters — follow each step carefully for the best fit.
Slide the back cover of your book through the cover loop. Push it all the way in until the book rests securely against the loop. (Always start with the back cover.)
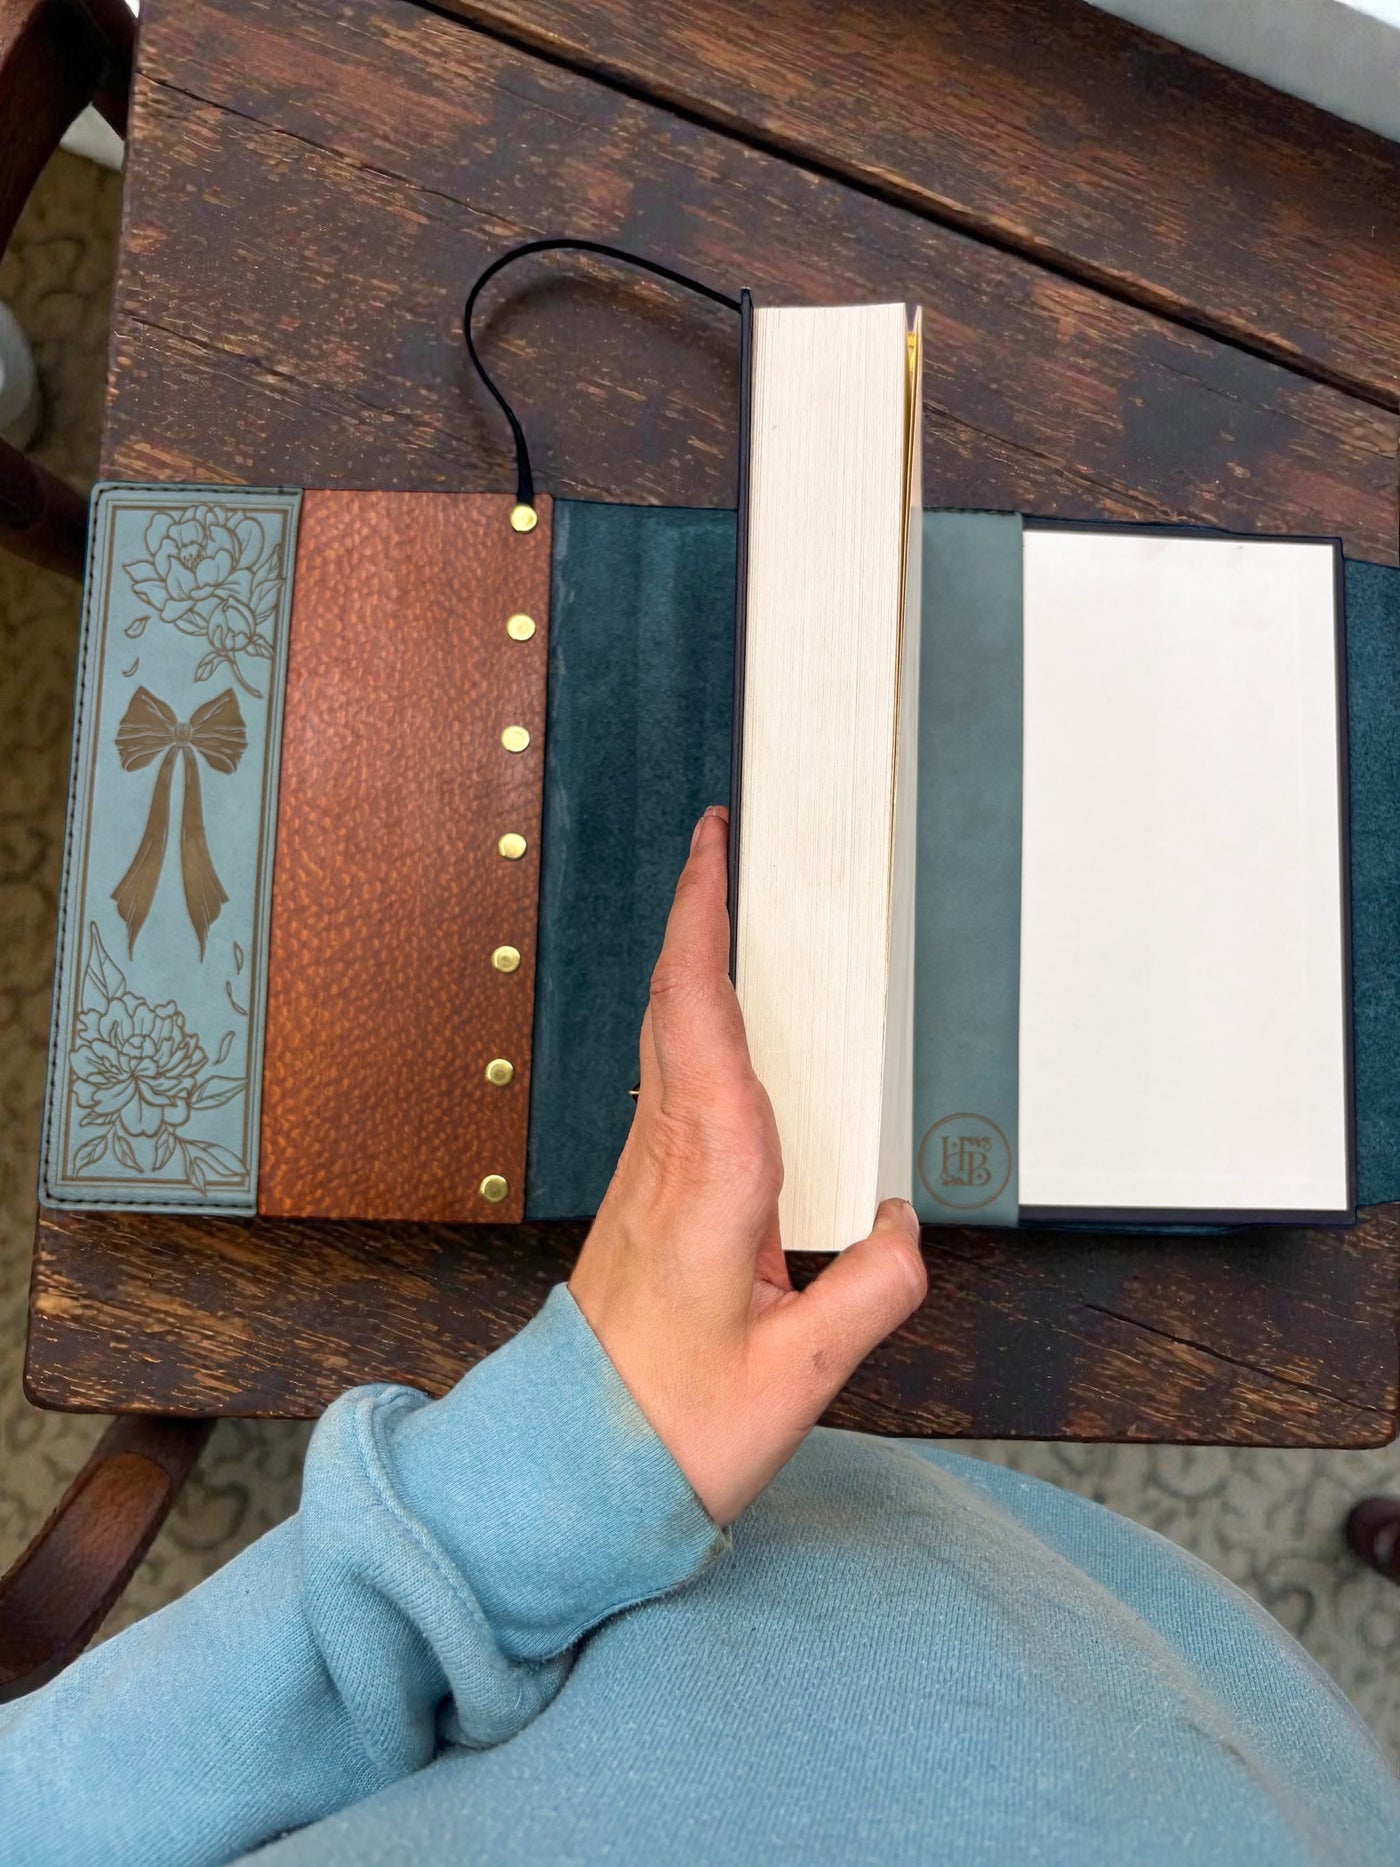
Slide the front cover of your book into the left flap. Push it in firmly so it sits tight and aligned.
Tuck the adjustable back cover neatly under the cover loop. Pull the excess snug so the cover fits smoothly and securely.
Slip the attached bookmark into your book and adjust as desired.

Following this order protects the structure of your cover and keeps it fitting beautifully over time.

Your fitted cover is custom-sized specifically for your book, creating a seamless, tailored fit. Because it is made precisely to size, installation may feel snug — this is intentional.
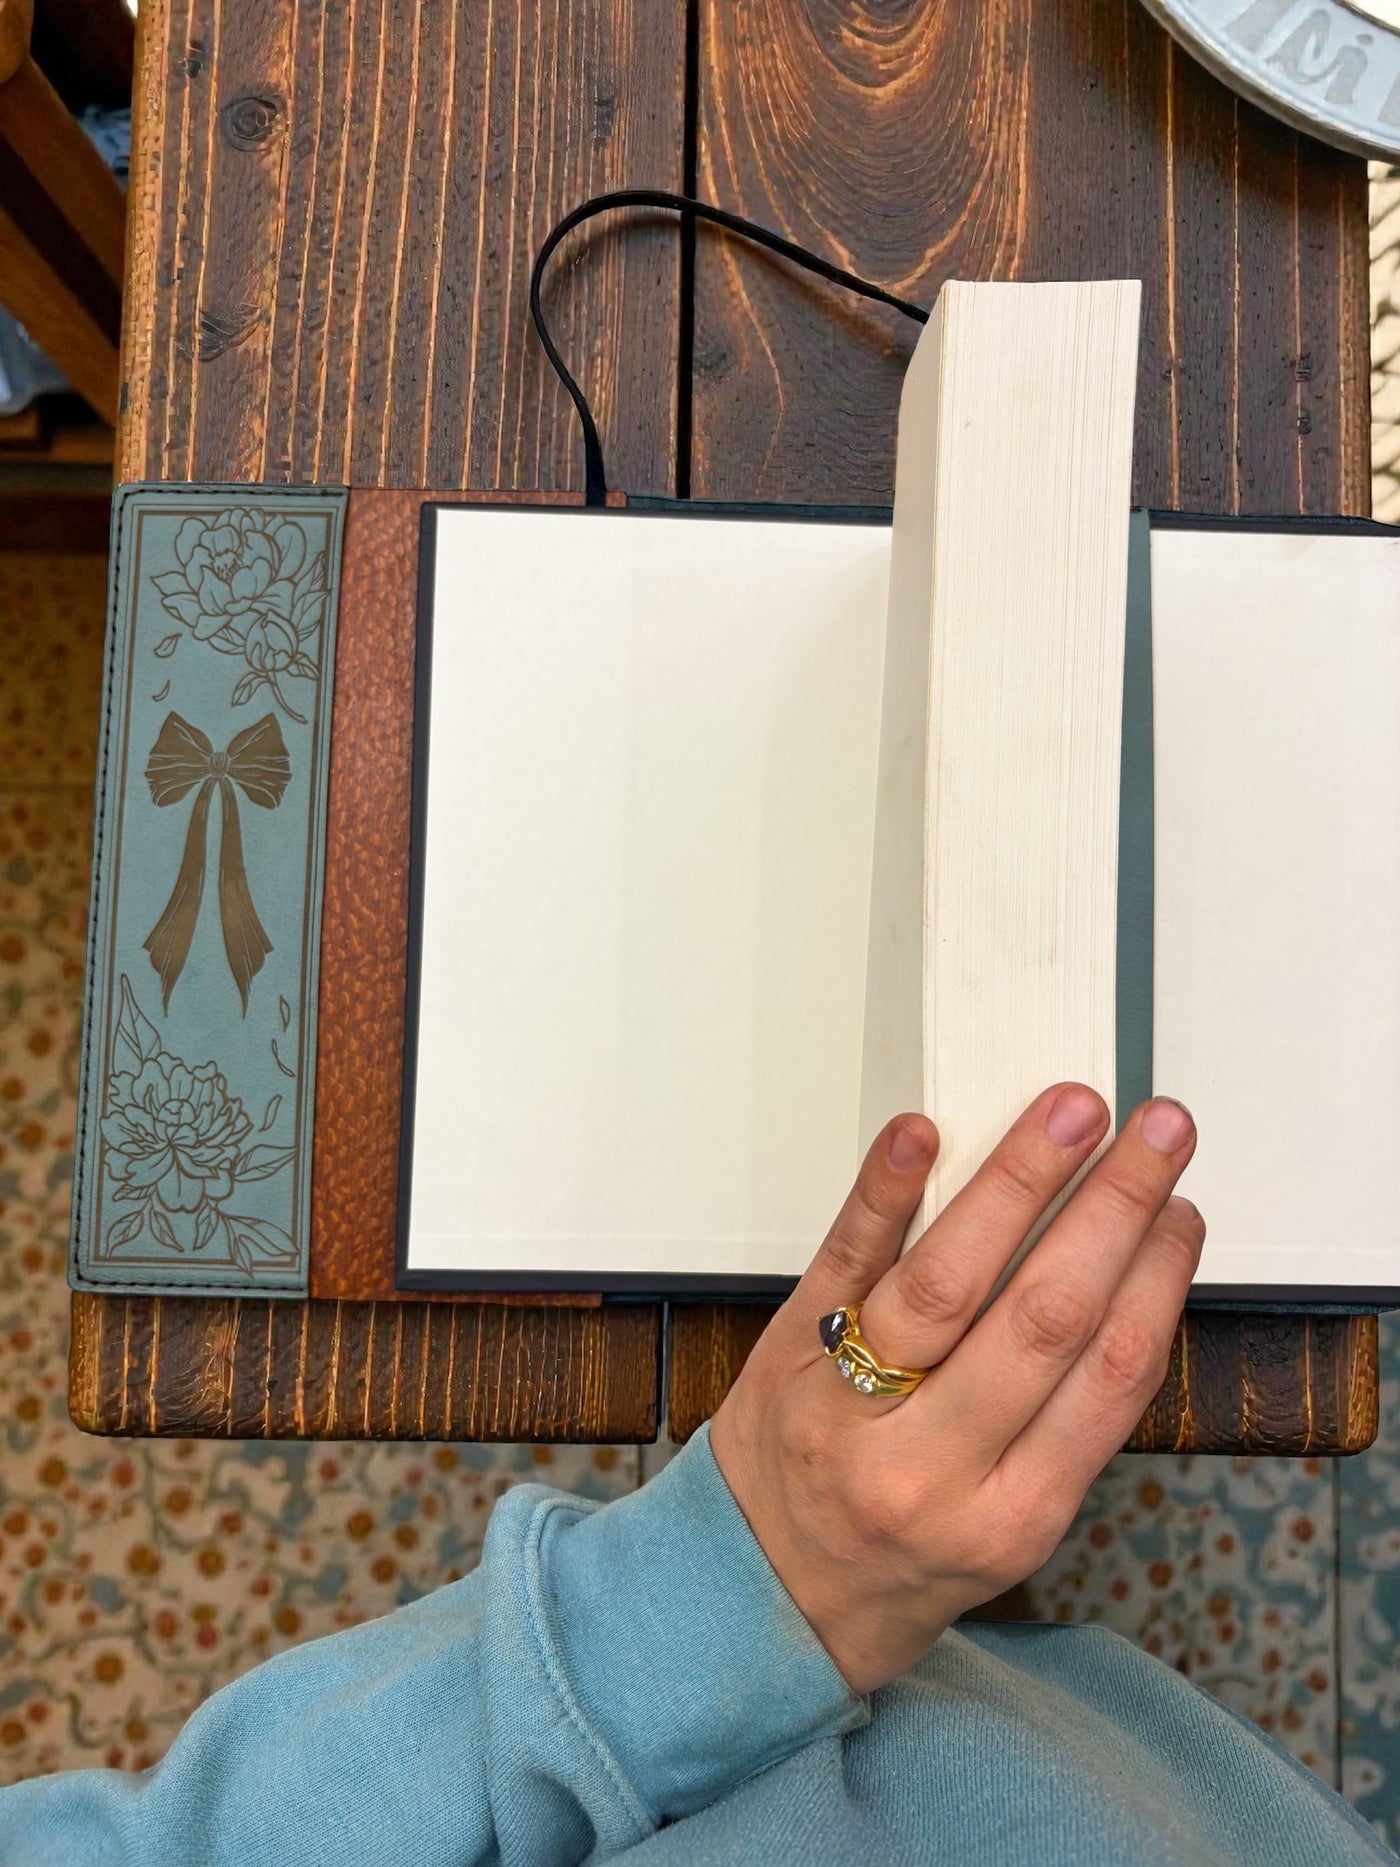
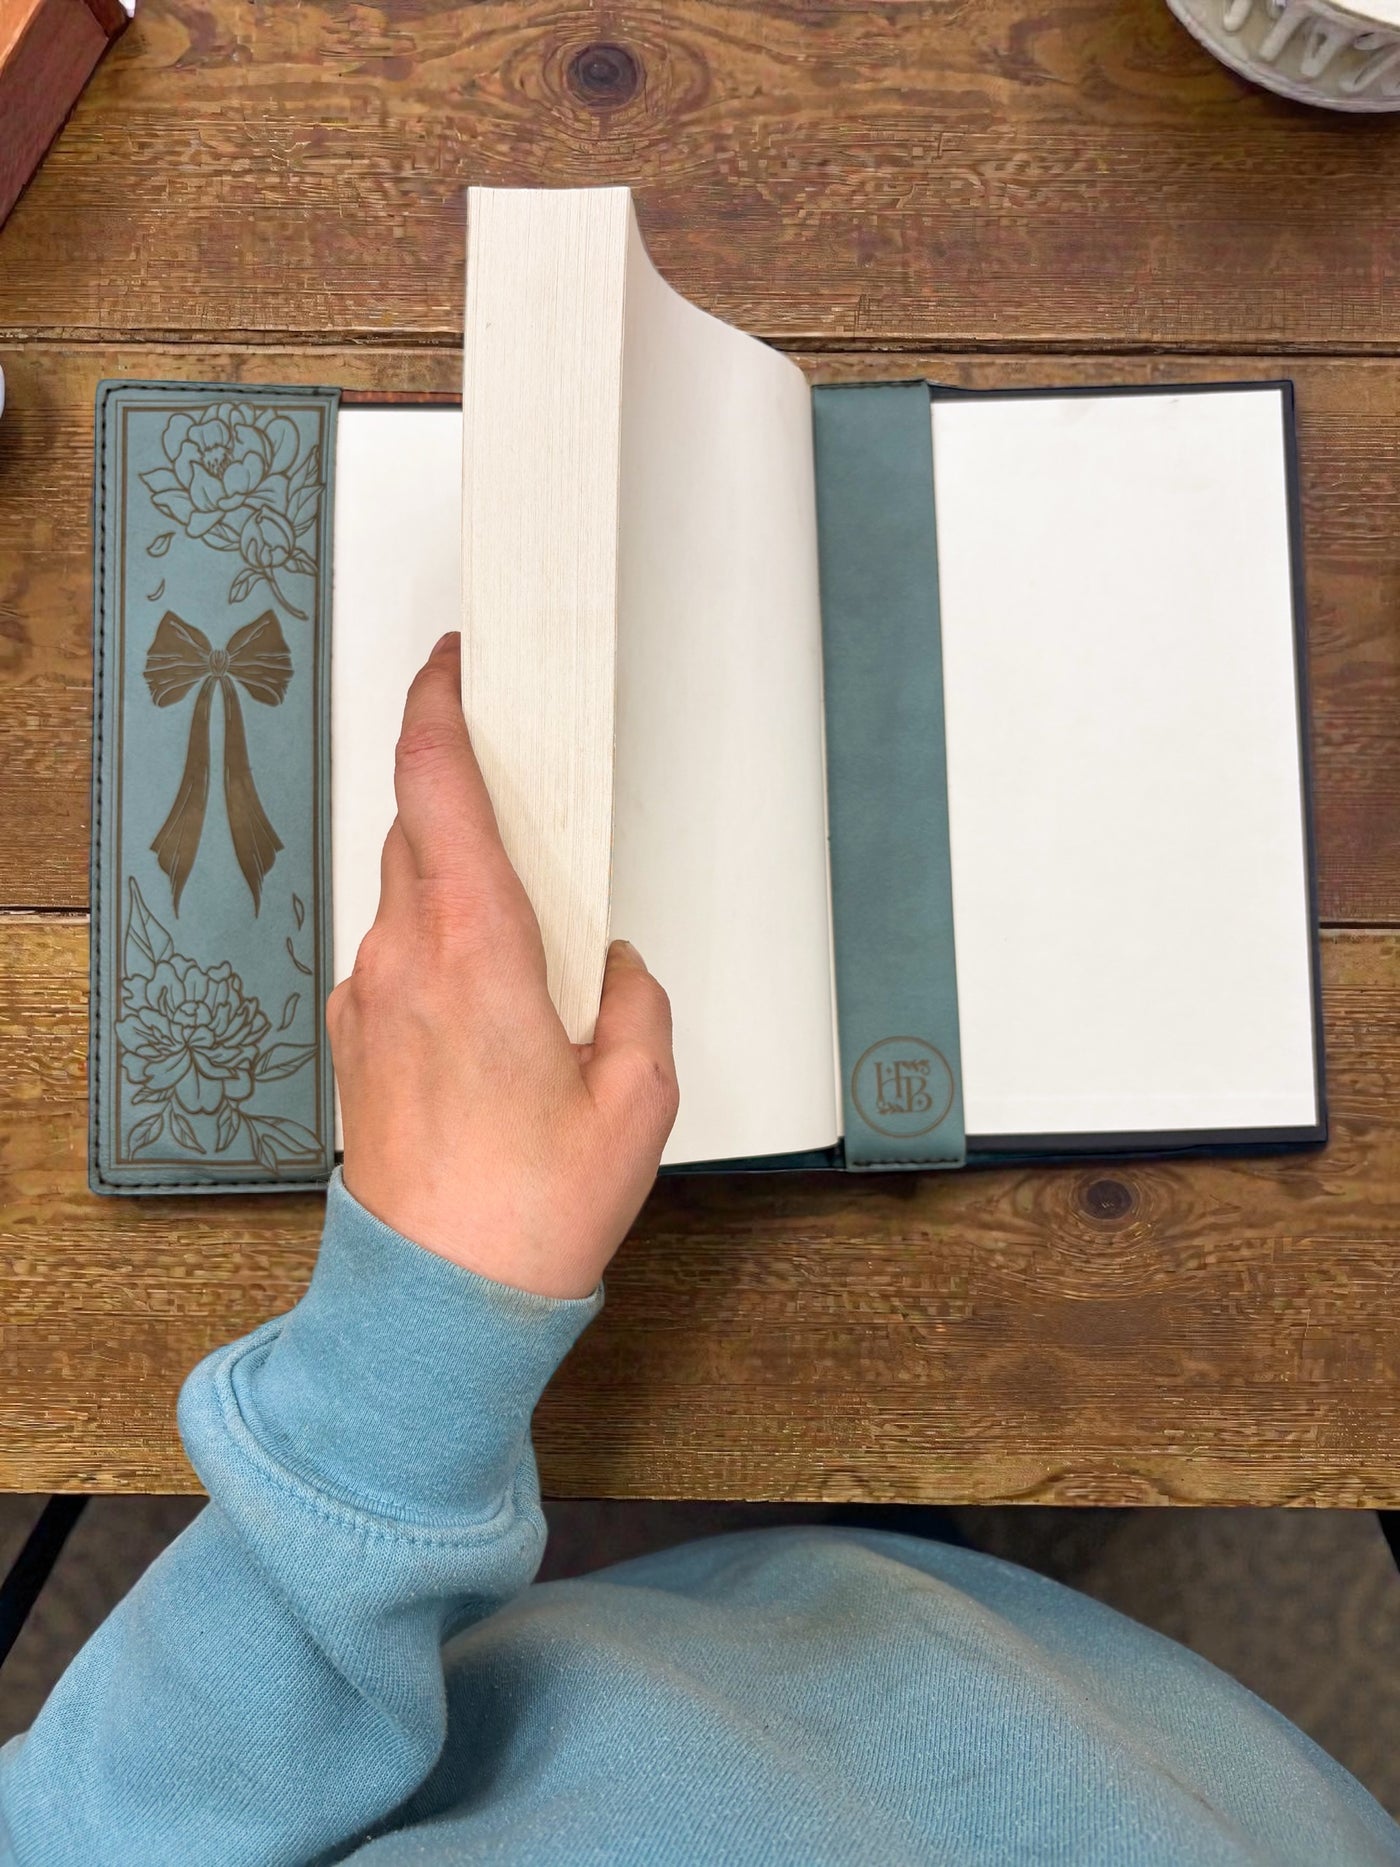
Slide the back cover of your book into the right pocket first. Push it in fully so it sits flush inside the sleeve.
Next is the front cover and left pocket. For the final portion, gently bend the book's front cover backward just slightly to help it slide fully into place. This small flex will not damage your book — it simply allows the fitted sleeve to seat properly.
Use the two built-in bookmarks to mark your place. They can be positioned together or separately depending on your reading needs.
Remove slowly and in this order to protect both your book and your cover.

Your cover is crafted from natural materials designed to age beautifully over time. With thoughtful care and proper storage, it will grow richer in character with every season of use.
To care for the wood, apply a light coat of food-safe cutting board oil as needed. Avoid getting oil on the leather, as it may darken or soften the surface.
Because our covers are made from real, solid wood, they naturally respond to their environment. While each piece is sealed for protection, wood can still react to extreme temperature or humidity changes.
When storing your cover without a book inside, slide the cardboard insert (which came with your cover) back into place to help maintain its shape and structure. Store your cover in the included suede bag.
Avoid leaving your cover in environments with rapid temperature changes. Extreme heat, cold, or humidity shifts can affect natural materials.
If the wood ever shows slight movement or cupping, this is normal for real wood and is often temporary. Allow it to rest flat with even weight in a stable, climate-controlled environment, and it will typically settle back into shape.
Our vegan leather is durable and low-maintenance.
Our genuine leather is designed to age gracefully. With time and use, it will naturally soften and develop a rich patina unique to you.
Keep leather dry whenever possible. If it becomes damp, allow it to air dry naturally — do not use direct heat.
To condition: use the included Smith's Leather Balm. Massage a small amount evenly into the surface with a soft cloth, allow it to absorb fully, and condition occasionally as needed — not excessively.